
Forever and a day, I have longed to be able to run ATCSMon on Linux or OS X via Wine. However, I have always experienced this nagging little bug where upon connecting to a server, the connection would time-out after a few minutes. I had many a hypothesis, and attempted to glean information from those over the years that claimed to have a working setup, only to continue to encounter the issue. Among things I had tried:
- Almost every Linux distribution out there, from Ubuntu, Kubuntu, Debian, OpenSUSE, to Fedora.
- Various versions of Wine, compiling from scratch, 32-bit and 64-bit permutations.
- Sacrificing various animals to assorted Pagan gods.
A year or so ago, someone on the ATCSMon list mentioned they were rocking and rolling with a Wine setup on OpenSUSE, and I exchanged several emails. I thought things were working as I had over 15 minutes of a connection working in the wee wee hours of the morning. Upon arriving home from work in the evening though, the issue was occurring, disconnects, disconnects, and more disconnects after a few minutes. So why had it worked in the wee hours, but now the disconnects were back. I hacked again all night, and went to bed again with it working…and then the next night, disconnects. Flip flarrin flarrin filth!
As I worked on the issue again, I finally noticed something in the ‘Servers Connected’ dialog. It was roughly 22:30 when I was debugging, but the Established column had 10:29:00 in it, while the Last Updated column had 22:30:00 in it. That is odd, I had just connected a minute ago…then bam, disconnect. Could there be some sort of calculation on the ATCSMon side, looking to do some sort of keep alive, but seeing the time is over a few minute threshold due to the established/last connected difference? When the clock rolled over to a new day, and I connected, I figured out why the morning hours worked. The Established column had 00:01:00, and Last Updated was in the same format of 00:10:00. Debugging over the weekend, I confirmed this suspicion by observing my connection work flawlessly until 1PM, and then things went south.
Here are a few screenshots demonstrating the information noted above:

From a failure scenario. Note the time format in the lower right corner of ATCSMon, as well as the differences in the Established and Last Updated columns.
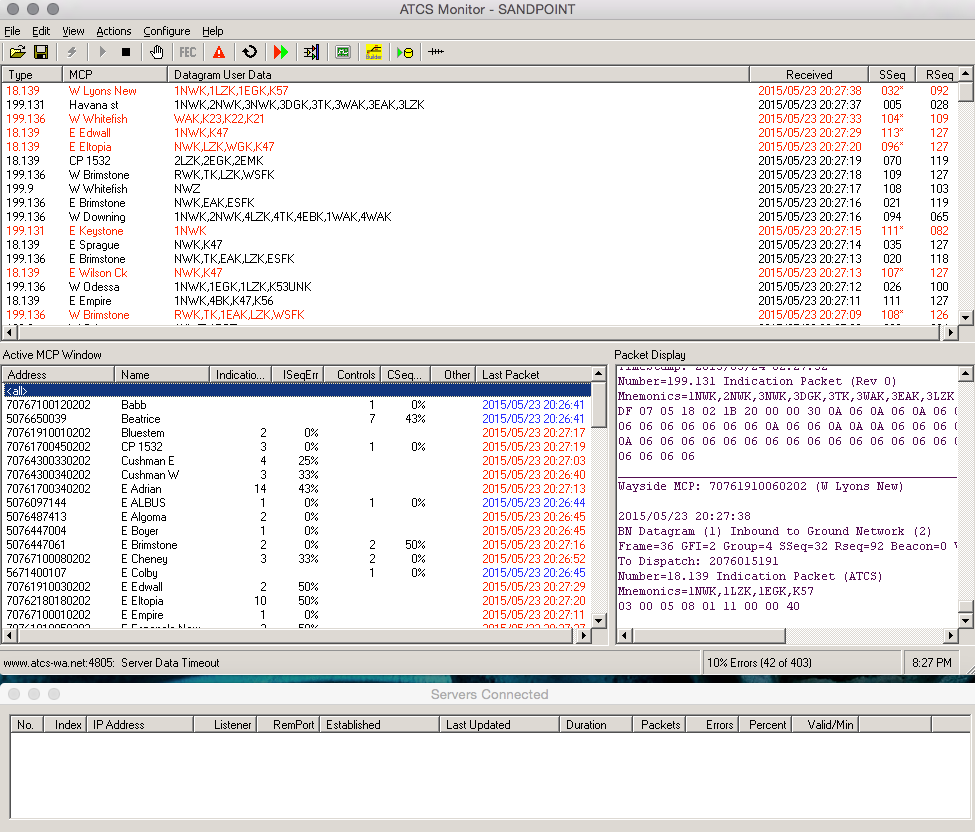
After a minute or two connected in the PM hours, the dreaded Server Data Timeout message appears.
At this point, I was stumped. ATCSMon is put together mostly as a Visual Basic app from what I can deduce. I tried inspecting the binary with dependency walker as well as dumpbin to see if I could deduce a certain time API in use, and perhaps debug something on the Wine side. Alas, I was note able to figure anything out here, and I eventually threw in the towel, again.
For some reason today, while enjoying the NASCAR XFinity Series race, and processing log files from field monitoring with ATCSMon, I noticed the time format in the lower right corner of ATCSMon was in 12-hour format. However, I use 24-hour on my OS X box, as well as all of my Windows boxes. The gears began turning on my old nemesis…if I could get that time format to display as 24-hour, would that fix the server data timeout issues?
I went searching and found the various regional settings for time and number formats in the registry as there is no regional settings control panel for Wine. The first setting I tried, comparing to my Windows ATCSMon installation, was the iTime value. It was set to ‘0’ in Wine, indicating a 12-hour format, so I toggled to 1 for a 24-hour format, and, no luck. ATCSMon still showed a 12-hour formatted time stamp in the lower right corner. Comparing more, I noticed the sTimeFormat entry was different. For Wine, it was h:mm:ss tt, whereas my other box was HH:mm:ss. BINGO! After that change and restarting ATCSMon on my OSX box, server data timeouts are a thing of the past!
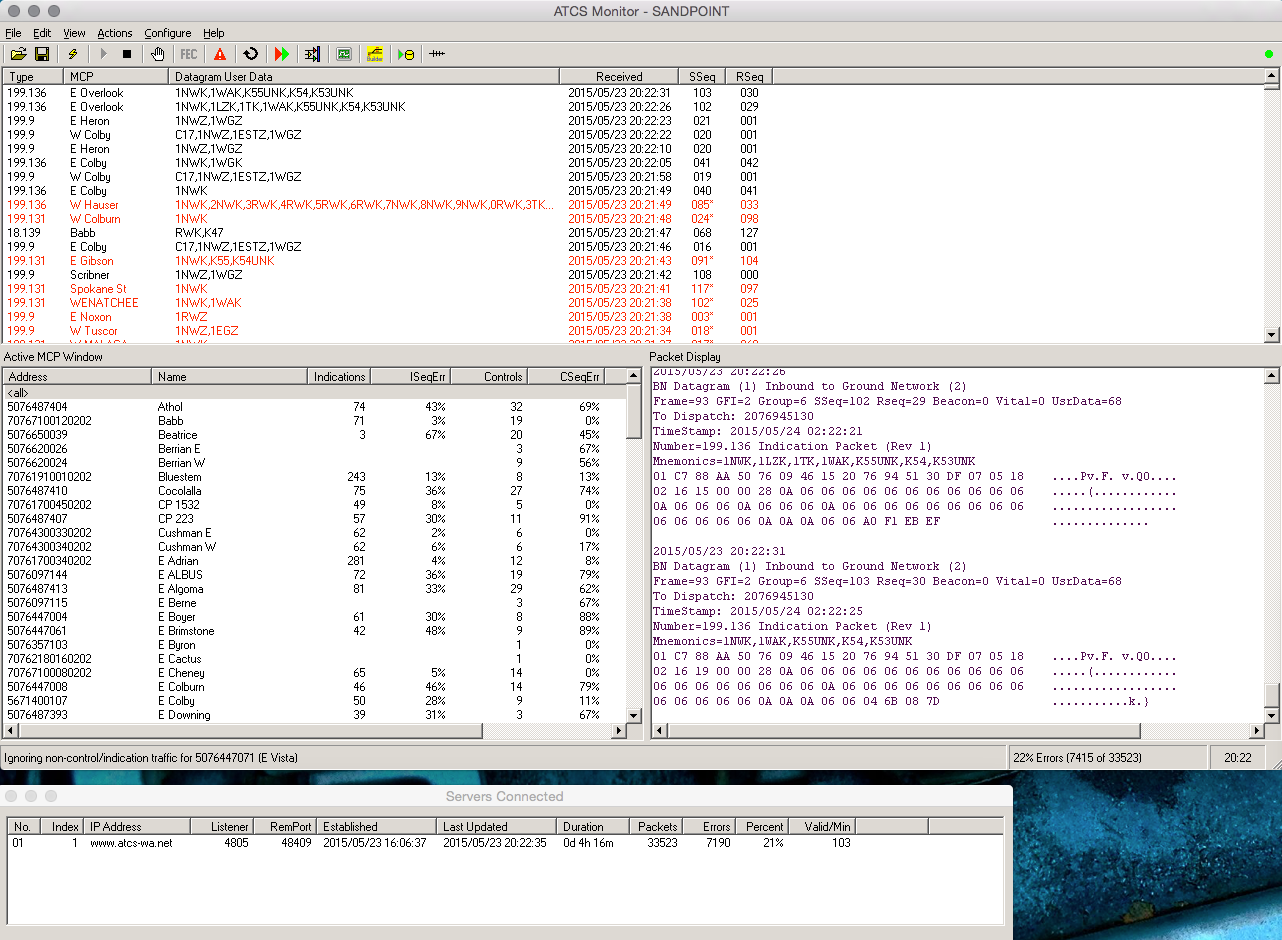
After the sTime registry setting change, the Established column time format matches the 24-hour format of the Last Updated column. The time format in the lower right corner is also now in 24-hour format.
Wow, finally, I have a solution. Need to run for a few days here to see if the morning hours all work correctly, but I think I finally got it figured out.


Recent Comments